Finally, decided to choose AT&T over countless other internet service providers? Now comes the step to install AT&T Internet service. Either you can choose the professional internet installation service or “AT&T Internet Self installation“. Standard professional installation is included with every AT&T internet plan but if you do-it-yourself then you can save yourself from the hassle of booking an appointment and waiting through the installation time window. During the Coronavirus outbreak, we are sure you wouldn’t want anyone to visit your home. If you don’t wish to go through the annoying installation guides then just read this article till the end. Here’s how to self install AT&T Internet.
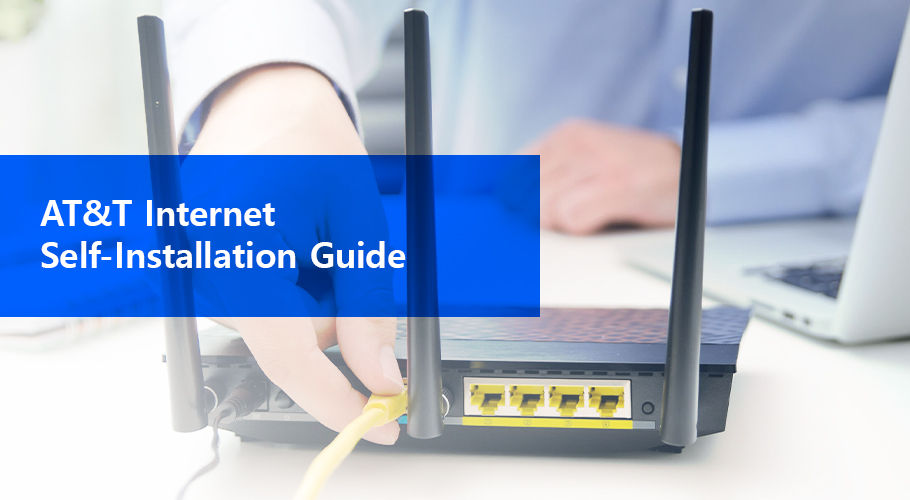
AT&T Internet Self Installation Guide 2023
Before you go through with anything, you need to keep in mind that if you have a non-digital home phone system, then you have to connect it to a dual-port filter. Simply plug the dual-port into your phone jack then plug your phone into one of the filter’s ports. The other port will be used to connect with your AT&T internet gateway. Follow the steps listed below on how to “self install AT&T internet” service.
Step 1:
Connect your Gateway, Your AT&T equipment package comes with color-coded wiring that matches up with the color-coded ports of your AT&T WiFi gateway. This makes the process so much easier than having to find the right port.
- Plug the Green data cable into the Green Broadband (DSL) port and your wall jack. If you use a non-digital phone service then you will need a dual-port filter.
- Plug the Gray cable into the Gateway’s phone lines 1 & 2 ports and your phone.
- Plug the Black power cord into any electrical outlet and then to your WiFi Gateway.
if you intend to just use a wired connection and not a wireless one then you have to plug the Yellow Ethernet cord into the Gateway’s yellow Ethernet port and then on your computer. Leave your gateway on for about 10 minutes for it to power up. The broadband and the service line will turn solid green when the WiFi Gateway is ready to work. If the lights don’t turn green, visit the troubleshooting section below. Let’s move onto the second step of the AT&T self-installation guide.
Step 2
To complete “AT&T Internet self install”, you need to set-up your WiFi network. On your device or your computer, open the wireless settings section. Select your WiFi name, and enter your 12 character password that you’ll find on the bottom of your WiFi Gateway. Once connected, open your browser and your connection will automatically lead you to the registration page. If registration doesn’t starts automatically then head on to att.com/Uverse. Just follow the registration steps from thereon.
Step 3
Customize your settings with the smart home manager application. To complete the AT&T internet self-installation, visit att.com/smarthomemanager to customize your WiFi network and name and password. Then you can start connecting other devices to your network using the customization settings.
AT&T Fiber Internet Self Installation Guide
AT&T internet comes in two different connections, you can either get the DSL service or the Fiber internet, they have different installation process. Read below for the AT&T Fiber self-installation guide.
Step 1
Connect the AT&T FiberSM Service Box. Your AT&T service box is the device that connects your home to the AT&T internet system. To complete AT&T Fiber internet self-installation, you have to connect it. You can mount it on a wall or place it in the basement or the garage. Remove the cover and connect the following:
- Plug the Green fiber connector to the green PON port. Make sure not to look into the end of the Fiber connector as it can cause eye damage.
- Plug the Red ONT Ethernet cable into the service box Ethernet port.
- Plug the Black power cord into the service box and an electrical outlet. Make sure the On/Off button is pressed.
If the power cord is missing or if anything seems out of place in the box then reach out to AT&T on their official customer number. Wait for the Power and PON lights to turn solid Green. Follow steps 2 & 3 to complete your AT&T Fiber self Installation.
Step 2
Connect your AT&T WiFi Gateway, Your AT&T package equipment package comes included with color-coded wiring, which matches up with the color-coded section on your Gateway.
- Connect the Red ONT Ethernet cable from your service box onto your Gateway.
- Plug the gateway’s Black power cord into the device and then to an electrical outlet.
If you wish to use a wired internet connection then follow the same procedure as the DSL internet service provider. If you have a digital phone service then plug in the Gray Cable from the Gateway’s phone lines 1 & 2 into your phone.
Step 3
Set up your AT&T WiFi connection. Open the WiFi settings on your phone or computer, select your WiFi name, and type in the 12 character password. Both of which will be printed on the bottom of your WiFi Gateway.
The next thing you have to do is to open your browser and follow the online registration instructions. When you open your browser you will be automatically redirected to the AT&T self-installation registration page. Follow the directions on the page and you will be able to register for your AT&T Internet service. Complete the next step and complete the AT&T Fiber internet self-installation.
Step 4
Customize your settings with the smart home manager application. To complete the AT&T internet self-installation, visit att.com/smarthomemanager to customize your WiFi network and name and password. Then you can start connecting other devices to your network using the customization settings.
Troubleshooting: Self Install AT&T Internet
Self Installing AT&T internet can be troublesome at times but almost all your problems will be solved with this troubleshooting guide. Read the “AT&T Self Install Troubleshoot” guide till the end.
1. If the Gateway Broadband Light Doesn’t Turn Green
There are basically 3 things that you can do if your Broadband light doesn’t turn green. Do this:
- Check your service activation date, you can only do the AT&T Internet self-installation yourself after 2 P.M. Your service activation date is noted on your packing slip.
- Check your connections and power. Connect all the cables and the cord securely, if the power light is on and your gateway isn’t green, then try another outlet.
- Try unplugging and replugging. Unplug the AT&T WiFi gateway’s power cord for 15 seconds and then plug it back in again. Wait for 2 minutes for the device to complete the reboot.
2. If Your Gateway Power Light Is Amber
There’s only one solution to try if your AT&T WiFi Gateway’s power light turns amber. While it isn’t exactly a problem, most people don’t understand it. Give your equipment some time. The light turns amber during the power-up process. Make sure not to unplug anything at the time.