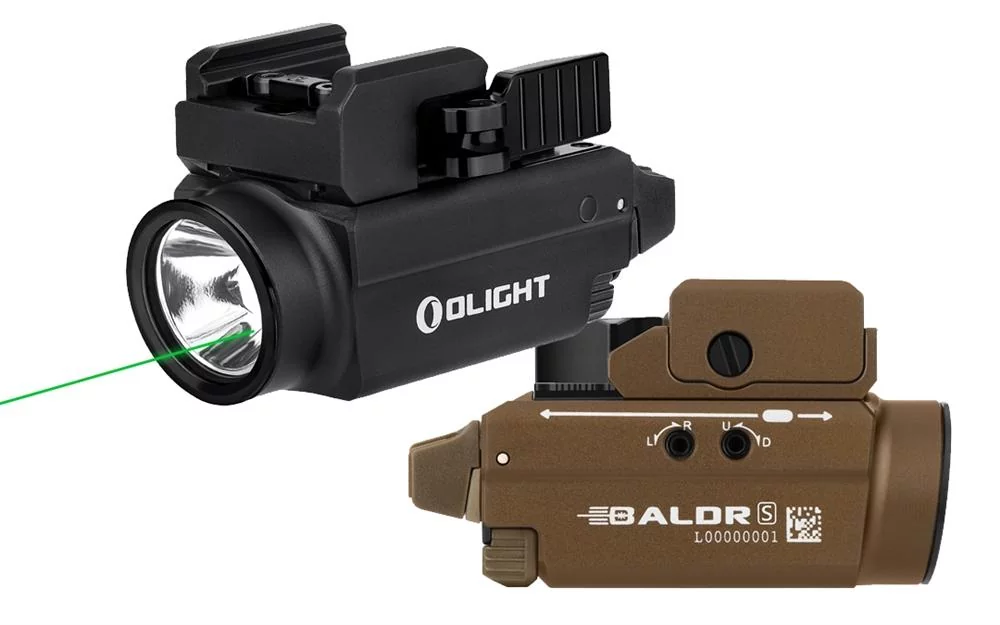
With the help of the people from OLIGHT, I was able to get early-sales accessibility to the OLIGHT Baldr S BL Gunmetal Grey, which I ran through the maze. I tested the durability beam distribution, laser operation, and others. I’ve included all the technical specifications as well as test outcomes in the OLIGHT Baldr light review, so you can make a decision on whether it’s the Baldr S is right for your firearm.
If you have a Glock and are happy to learn this Glock adapter is the norm that comes with the Baldr S is released. But, if you don’t have a Glock there’s no need to worry. The adapter works with regular Picatinny rails, which are included in the OLIGHT.
After you have the right adapter for the unit Simply shift the arm to open the grooves which are locked onto the rail. Install the unit on your rail, then lock the arm. In the event that you’re experiencing difficulty getting the light to fit onto the gun, use the locking arm to help move the light onto your gun.
Light Adjustment of Profile
Contrary to this version of the Mini Valkyrie, there are additional options to alter the size of this flashlight on your pistol. The locking arm is connected to a bracket, which can be moved either forward or backward. Although it may sound like a simple thing, it lets you position the light switches in a position that is compatible with your hand. But, it is from the box in a forward-facing direction.
BALDR S Lumen Input & Beam Spread
In the course of conducting tests (and studying) the details regarding this Baldr S BL Gunmetal Grey light review, I was able to see that the flashlight is able to operate at high and low power levels. This means that it has a low power output, 100 lumens and the maximum intensity is around 800 lumens for the Baldr S Flashlight.
Above is a graphic of the low contrast with the high. the high power output of 10 yards. Below, I’ve summarized the results of my tests below, using my usual distances. It’s important to note that the beam’s diameter did not differ significantly between high and low output modes.
Is the Baldr S Laser Good?
If I were to choose the biggest thing I worry about the laser in the Baldr S is probably it. But, I’m more of an iron-sights type of shooter, so it wasn’t a big concern for me. In addition, the laser wasn’t poor in any way by any stretch of the imaginative imagination and when compared with something similar to its counterpart, the Tacticon Armament it’s vastly superior. In truth, I may have had unreasonable expectations.
The laser’s shining (no no pun meant) was found in low-light to moderate lighting scenarios. Anytime other than direct sunlight I was able to get the green laser visible in any kind of material. However, I have to admit that it was more clear on non-textured surfaces, as opposed to things like bricks with a light color. I could discern the dot on a wall that was outside by 45 feet.
However it was a bit difficult to make use of this laser under direct sun, I could not be able to see the dot in larger ranges. Instead, I had to set it on the ground and then focus on following it toward the target to be able to detect it. In the first 5 yards, you’ll be fine in bright lighting conditions. Things get “iffy” when you extend the distance to 7-10 yards. The laser is most effective in indoor ranges, and thus protects your home.
Is the OLIGHT Baldr S Simple To Use?
From opening the box to getting the light fitted to my firearm, the process took around five minutes. I had to tighten the set screws to ensure all was secured and I was then off to go.
From a user-friendliness perspective in terms of usability, every shooter, novice or experienced will be able to operate the flashlight after it’s been installed. The ability to turn the flashlight off and on is very easy, however, switching between the options is something you’ll need to know how to be able to do. In addition, you can keep the pressure on your switch in order to maintain the flashlight in operation and release it to shut it off for the operation that is sensitive to pressure.
Additionally, if you wish to use the high-visibility white light setting, first switch off the light. After that, you must double-tap the switch to turn it on. This will boost the brightness substantially.
Switching Between Settings
Since you might not need both the laser and flashlight working together There is a switch for a selector switch located on the lower part of the device. While it’s easy to alter the settings, however, changing them at the moment will require the ability to remember. The switch can be toggled between 3 settings; laser only, light only, or laser + light.
While it’s not a big issue, I would prefer a different spot to switch. Of course, this is an individual preference. But it’s worth noting that you can easily switch the settings while the device is running.
As I stated above turning on the brightness of the flashlight is not an option that can be selected in this toggle switch. Instead, the operator’s involvement (double-tapping the switch twice) determines the brightness setting that is selected.
How to Zero The Laser: Elevation and Windage
It took me around fifty rounds to set to the laser in Baldr S with a distance of 10 meters (30 feet) to be used in this review. I could have achieved this in much less time when I knew the mechanism of adjustment screws.
In my head, when my shots failed to hit high, I wanted the laser to lower. But, I had to move the screw in a “U” direction. After numerous failed attempts and some head scratching, I examined the irons trying to resolve the issue of the shot’s placement. It was a surprise, I had moved it in the opposite direction. This was also true for windage.
When I zeroed my laser I mounted it to my brand new Springfield and took a peek at how it looked. It was no surprise that the laser required to be reset-zeroed. Therefore, you’ll have in order to set the laser to zero for the precise pistol you plan in order to ensure it stays on.
Charger & Battery Details
As is the norm The OLIGHT Baldr S uses the same rechargeable battery that they use in the other flashlights. I could recharge the device using the older charger I used to charge the Mini Valkyrie. I didn’t take a measurement of the charging time due to the fact that I’ve done it many times but I’d estimate it took about an hour from completely dead to full.
Battery Run Time: Light and Laser
I believed it would be essential, as part of a review of the OLIGHT Baldr S review to gauge the time it takes to run a battery in all the modes available. I’m happy I did it, since the time it takes to run the battery can be very different according to the settings you choose.