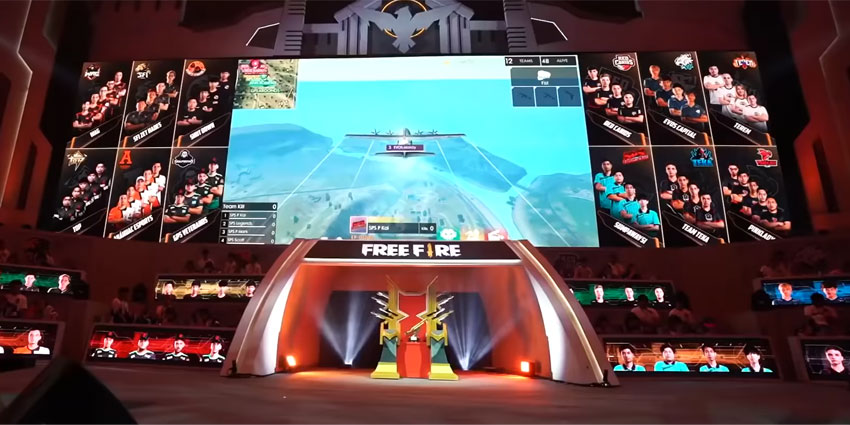
Have you ever wondered how Twitch streamers and pro players play Garena Free Fire on PC and Mac devices? How are they able to do it? So, if you are looking for a way to do it, you came to the right place. Stick around and find out how to play Free Fire on another level and fire it up on the big screen.
Not only that, they even stream the whole game live on Twitch. So, how are they able to do it, do they use any Twitch viewer bot for streaming it to many channels? In this article, we have mentioned all the ways to play Garena free fire on PC or Mac.
Setting Up Virtual Android – BlueStacks
There are plenty of Android emulators available out there. You probably heard before about third-party software like Andy Android Emulator or Nox App. However, not all of them are reliable, and your game might become laggy or even crash, which is something we definitely want to avoid. Therefore, for this tutorial, we will use the most stable one for Free Fire, which is BlueStacks. This software is tested and stable on all devices.
1. Download Bluestacks
The first step is to head over to BlueStacks official website and download it. Make sure to choose the correct version.
For Windows 11 users, it is relatively easy, just select BlueStacks 5 and download the Nougat 32-bit or Nougat 64-bit version; it depends on your operating system. If you are not sure which operating system your PC is running, head over to Settings -> System -> About -> Device Specification, and under System Type, you should be able to see the architecture of your OS wheater it is 32 or 64 bit.
If you are running Windows 10, 8, or 7, you should download BlueStacks 4 because 5 is exclusive only to Windows 11 users, and it may not work properly. Go through the same process and check out which version of Windows you have. Once confirmed, select the correct version and download it.
MacOS users should also opt-in for BlueStacks 4 as 5 is still not available.
2. Install BlueStacks
After downloading, all you have to do is install the software. If you have downloaded the correct version, you just have to press “Install Now”, and the wizard will do its magic.
3. Download & Install Garena Free Fire
In order to download this game, you first need to connect your Google account with BlueStacks. It’s the same process as when you purchase a new phone. Head over to Google Play and Sign In. After signing in, search for Free Fire in apps & games. Find the correct game and install it just like you would on a regular Android phone.
4. Play Garena Free Fire on PC & macOS
As soon as the installation is complete, you can go back to the home screen, and the game should appear there. Press on it and enjoy. And that’s it, simple as that.
Why To Play Garena Free Fire on PC & macOS?
Up until now, we could only watch live streams and bet on Free Fire from our PCs. Be that as it may, now we can also play it and enjoy the game on the widescreen. So, let’s check out why to play Free Fire on your PC or macOS?
First of all, you can use your mouse and keyboard, which we all know is the “holy grail” for every FPS game. The game allows full key mapping for every action, which will surely improve your overall gaming experience.
On top of that, BlueStacks also allows you to boost the game’s framerate from 25fps up to 240fps. This performance is almost unachievable even on the most expensive phone models. All you have to do is to choose the preferred frame rate in BlueStacks settings. If you have a regular monitor, we recommend you lock it on 60fps. Those with high-end gaming monitors can go for 144fps or even 240fps, depending on your monitor. There is no need to tell you how to check the frame rate of your monitor; let’s be honest, they are expensive, and if you paid for them, you probably already know.
Come back to The Reviews Now for more tech guides and gaming tutorials!

